Macbook Camera Not Working Learn How To Fix It
Let me show you 11 easy fixes and get your MacBook built-in camera working again.
Common reasons why MacBook camera is not working
Here are some of the common reasons why your Mac’s camera isn’t working properly:
Lack of internet connection Software malfunction Changes in camera settings Corrupted app or settings Incompatibility with software updates Physical damage Wear and tear
What to do when MacBook camera not working?
Before we go to the troubleshooting tips, it’s essential to understand that Mac’s built-in FaceTime or FaceTime HD camera automatically turns on whenever you open an app that can use it. A green indicator light will glow beside the camera to indicate that your Mac is actively using your camera. But each app also has its own dedicated settings that control the camera. Just open the app, go to the menu bar, select Preferences, then look for Video or Camera settings. Now that we have taken care of the basics, let’s go through some quick fixes for Mac camera not working.
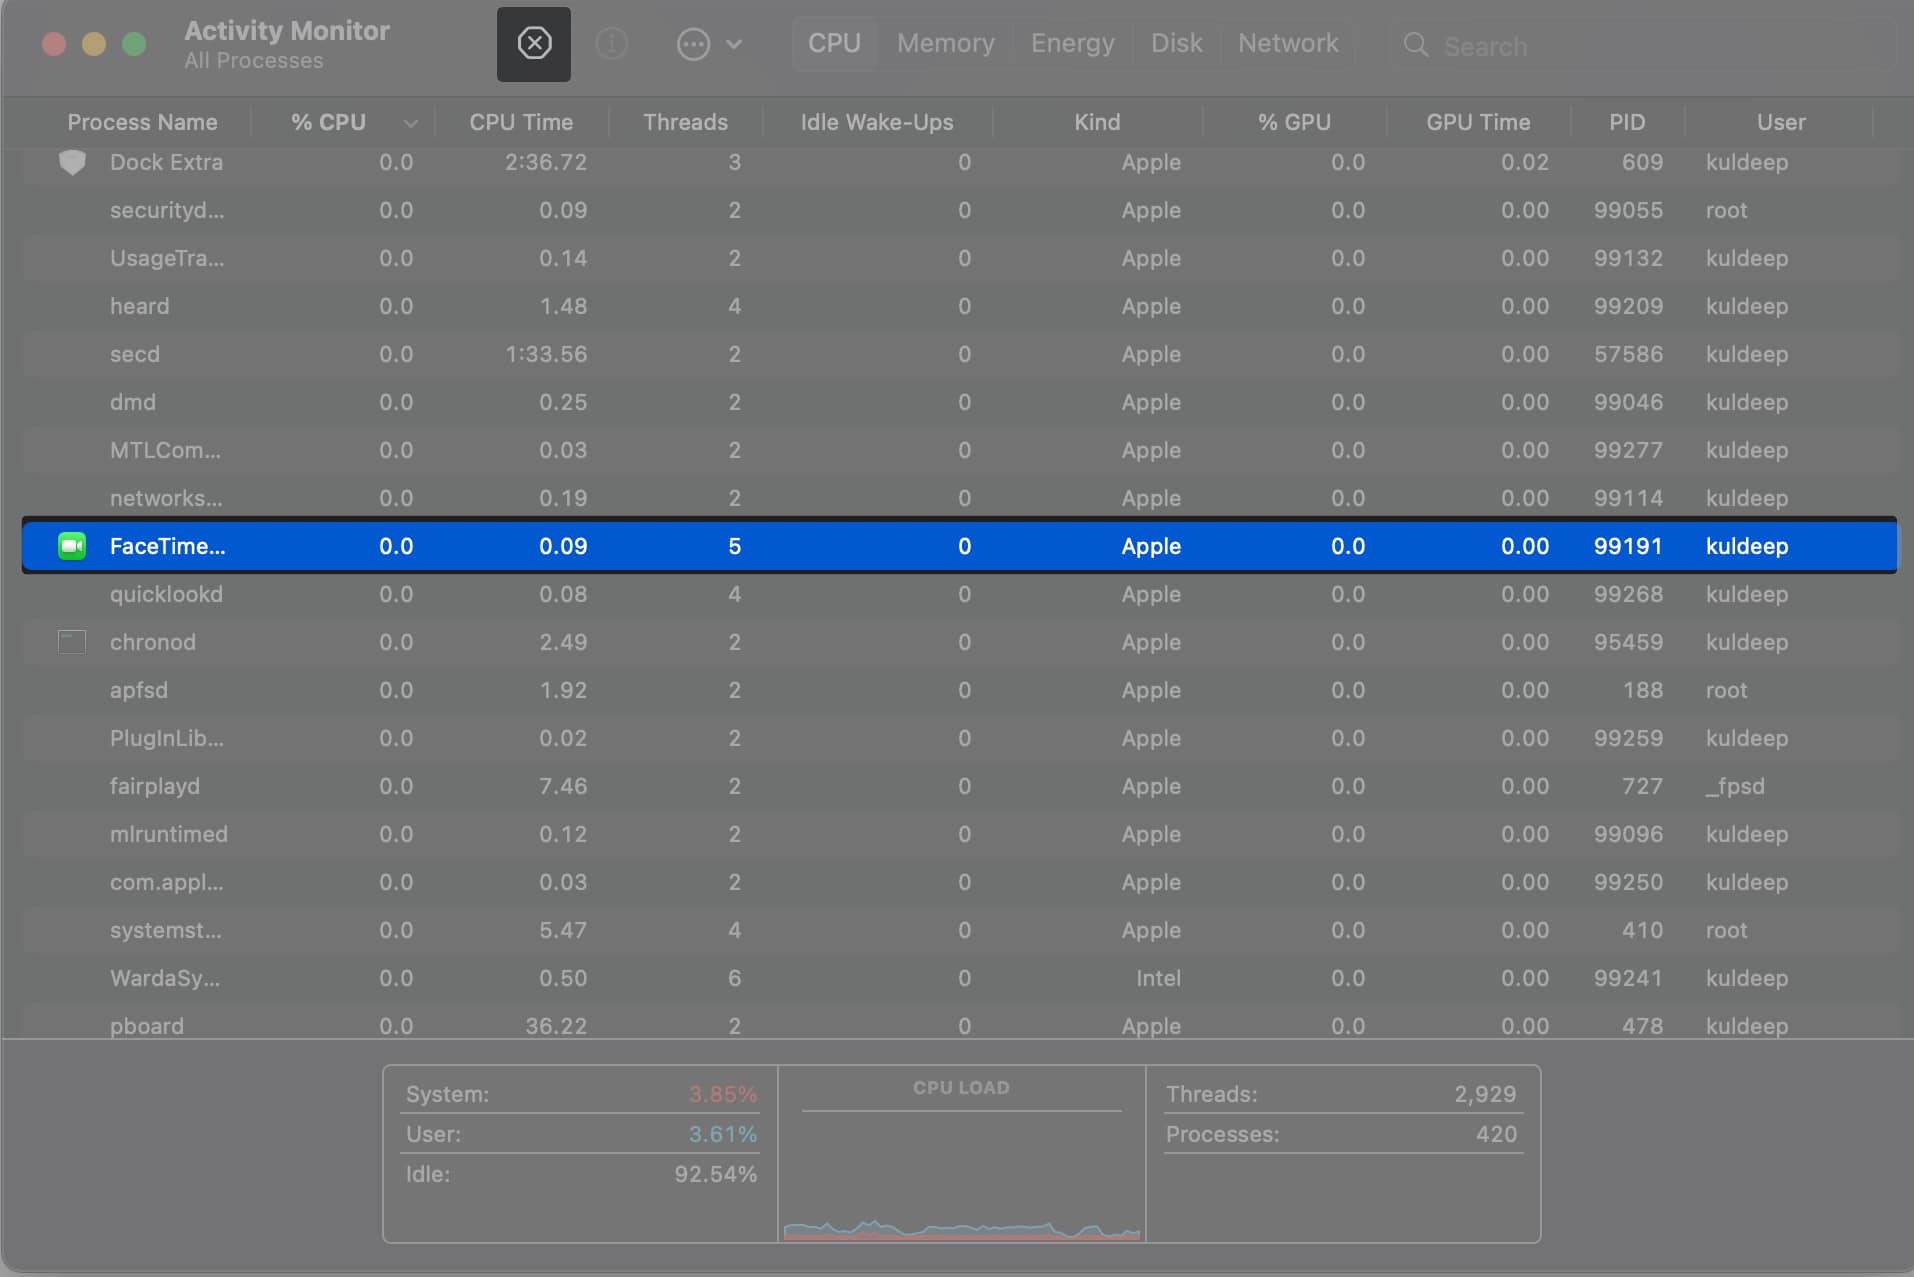
1. Force quit conflicting apps
If you are facing issues with the MacBook camera on apps like FaceTime, Skype, Photo Booth, Zoom, etc., force quit these apps. Note: This will close the apps without saving any pending work. So, save your work before force quitting apps.
2. Restart you Mac
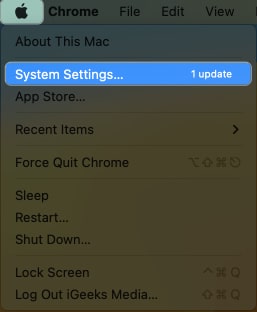
Click the Apple logo at the top right → choose Restart. Now, try using your Mac’s camera. It should work. Tip: If a simple restart does not fix the problem, try to start your Mac in Safe Mode and see if the camera works. Additionally, you may also open Terminal and run this command to kill camera assistants.
3. Update your OS
Make sure that your Mac is running the latest OS. Software updates fix bugs and glitches that may prevent built-in apps and features from working desirably.
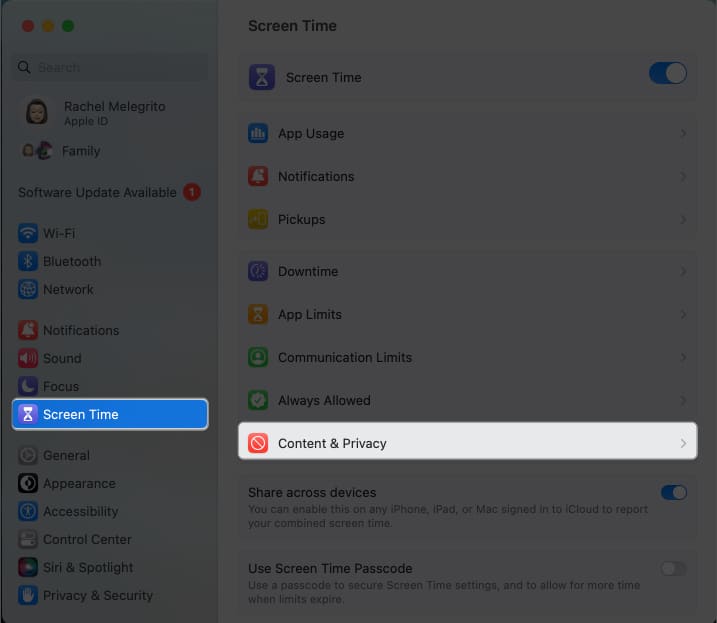
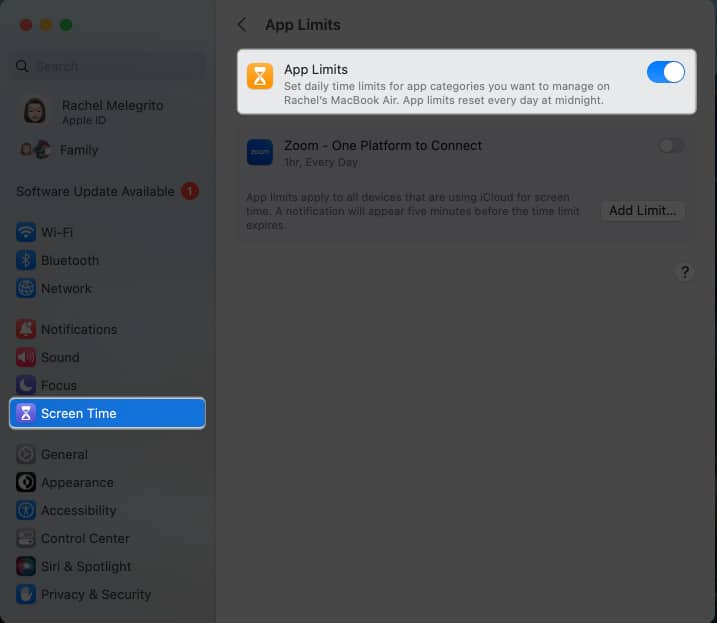
4. Check Screen Time settings
If you’re using Screen Time, it’s possible that the feature is either restricting you from using the camera or the app you want to use doesn’t have remaining time available. To check:
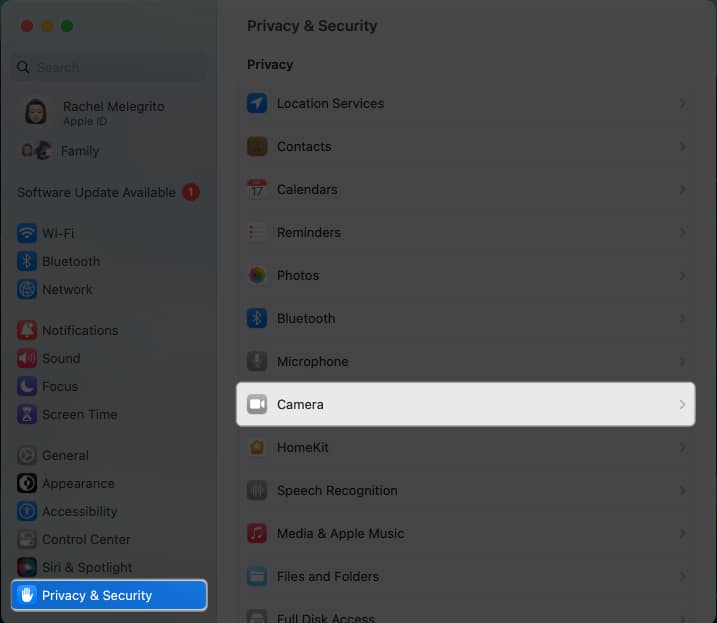
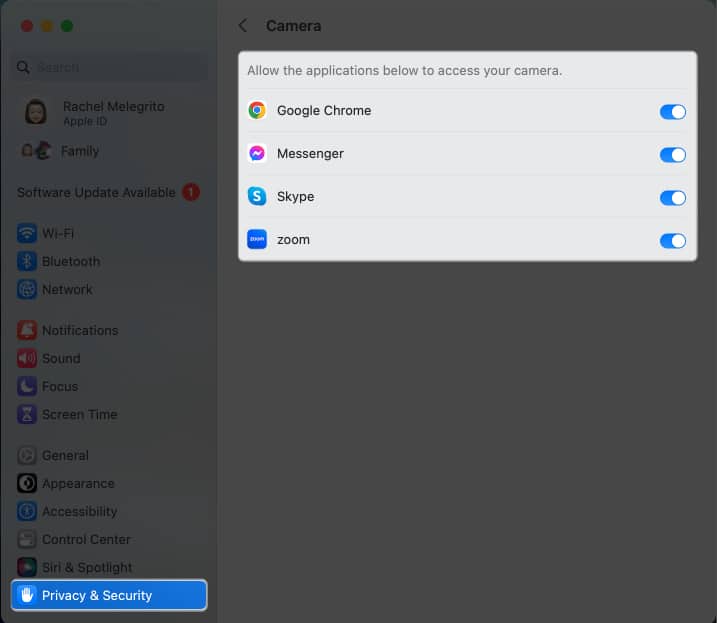
5. Allow Camera Access
As an added security feature that came with macOS Mojave, you can now choose which specific apps can access your Mac’s built-in camera. It’s possible that you can’t access the camera on your Mac because it doesn’t have access. To give the app access:
Choose the right camera in the app’s settings
If you have more than one camera connected to your Mac, head to Preferences to see the app’s Camera settings and select Mac’s built-in camera.
Double-check: Use another app that needs the camera
Sometimes, the issue isn’t your Mac’s camera but an app. To check, open a different app that utilizes the camera, such as a video conferencing app, and see if everything works. If it does, then the issue is with the app and not on your camera.
6. Check your antivirus
If you installed an antivirus on your Mac, check its settings and ensure the software isn’t restricting apps from accessing your camera.
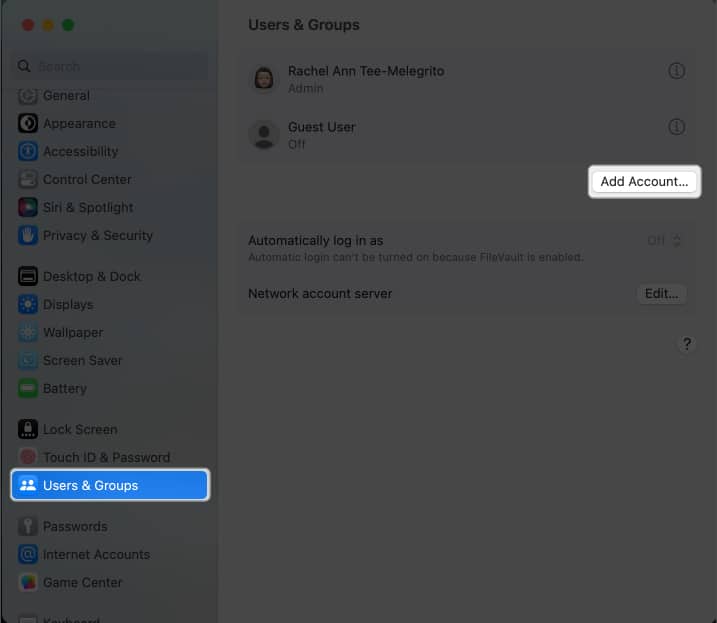
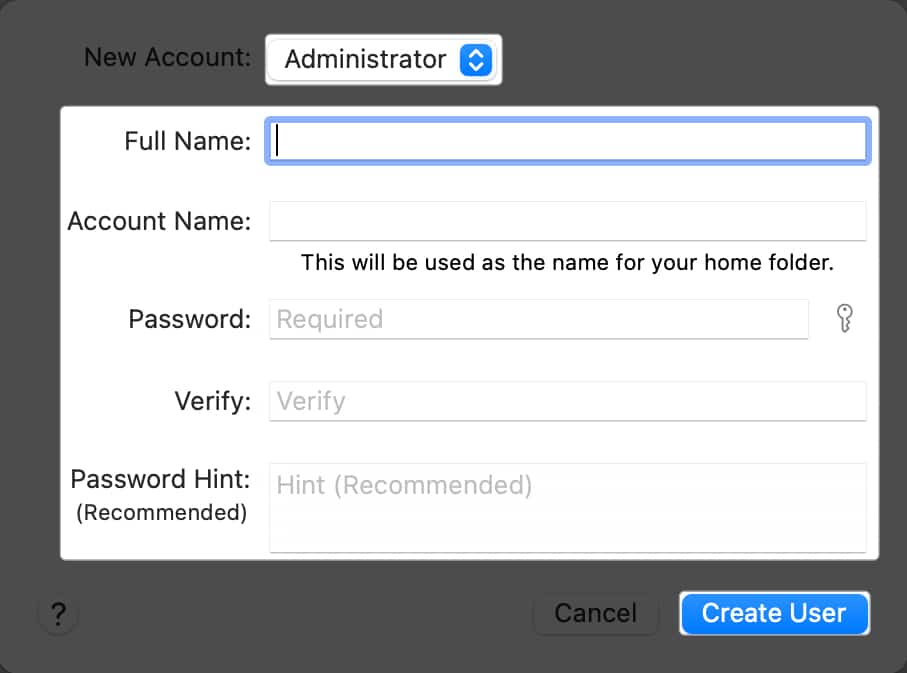
7. Create a new user account
Creating a new user account may help you gain access to your Mac’s camera. To do this: Check if you can access your MacBook’s camera using your new administrator account.
8. Check for hardware problems
Here are different ways to see if there’s a hardware problem and what you can do with it.
Check the camera indicator light
Open an app that uses the camera, such as FaceTime. Check if the camera indicator light glows on your Mac. If not, it may be a hardware issue.
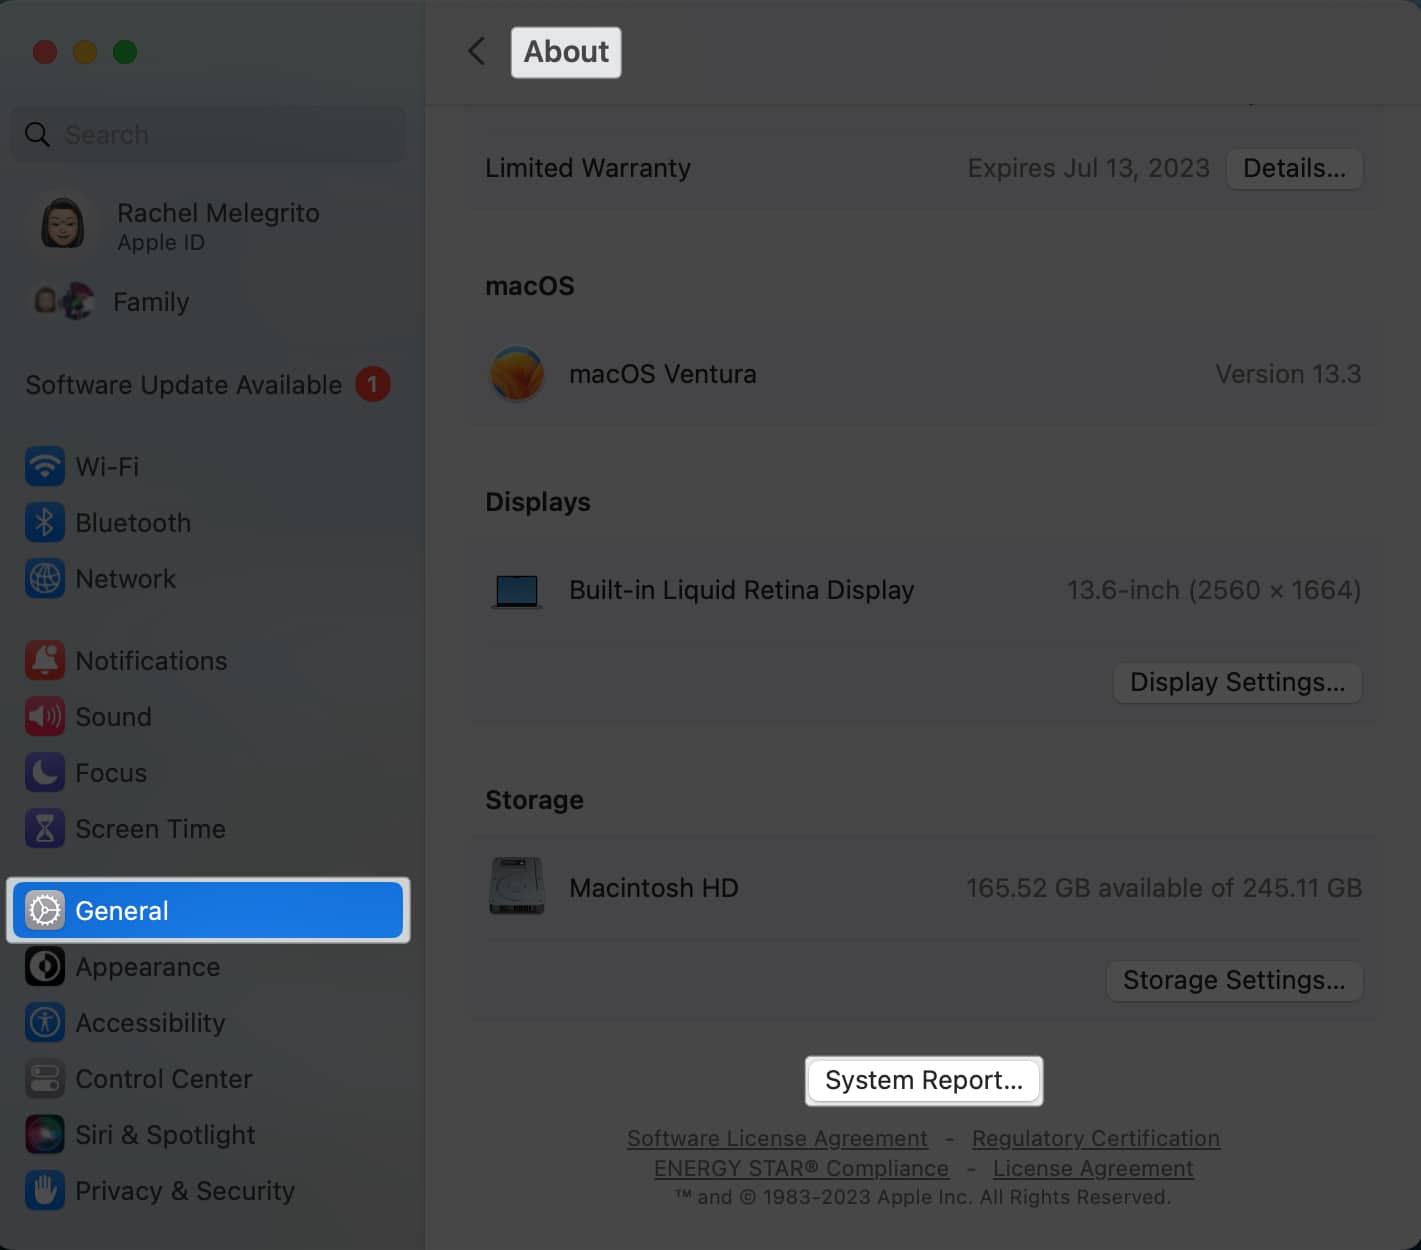
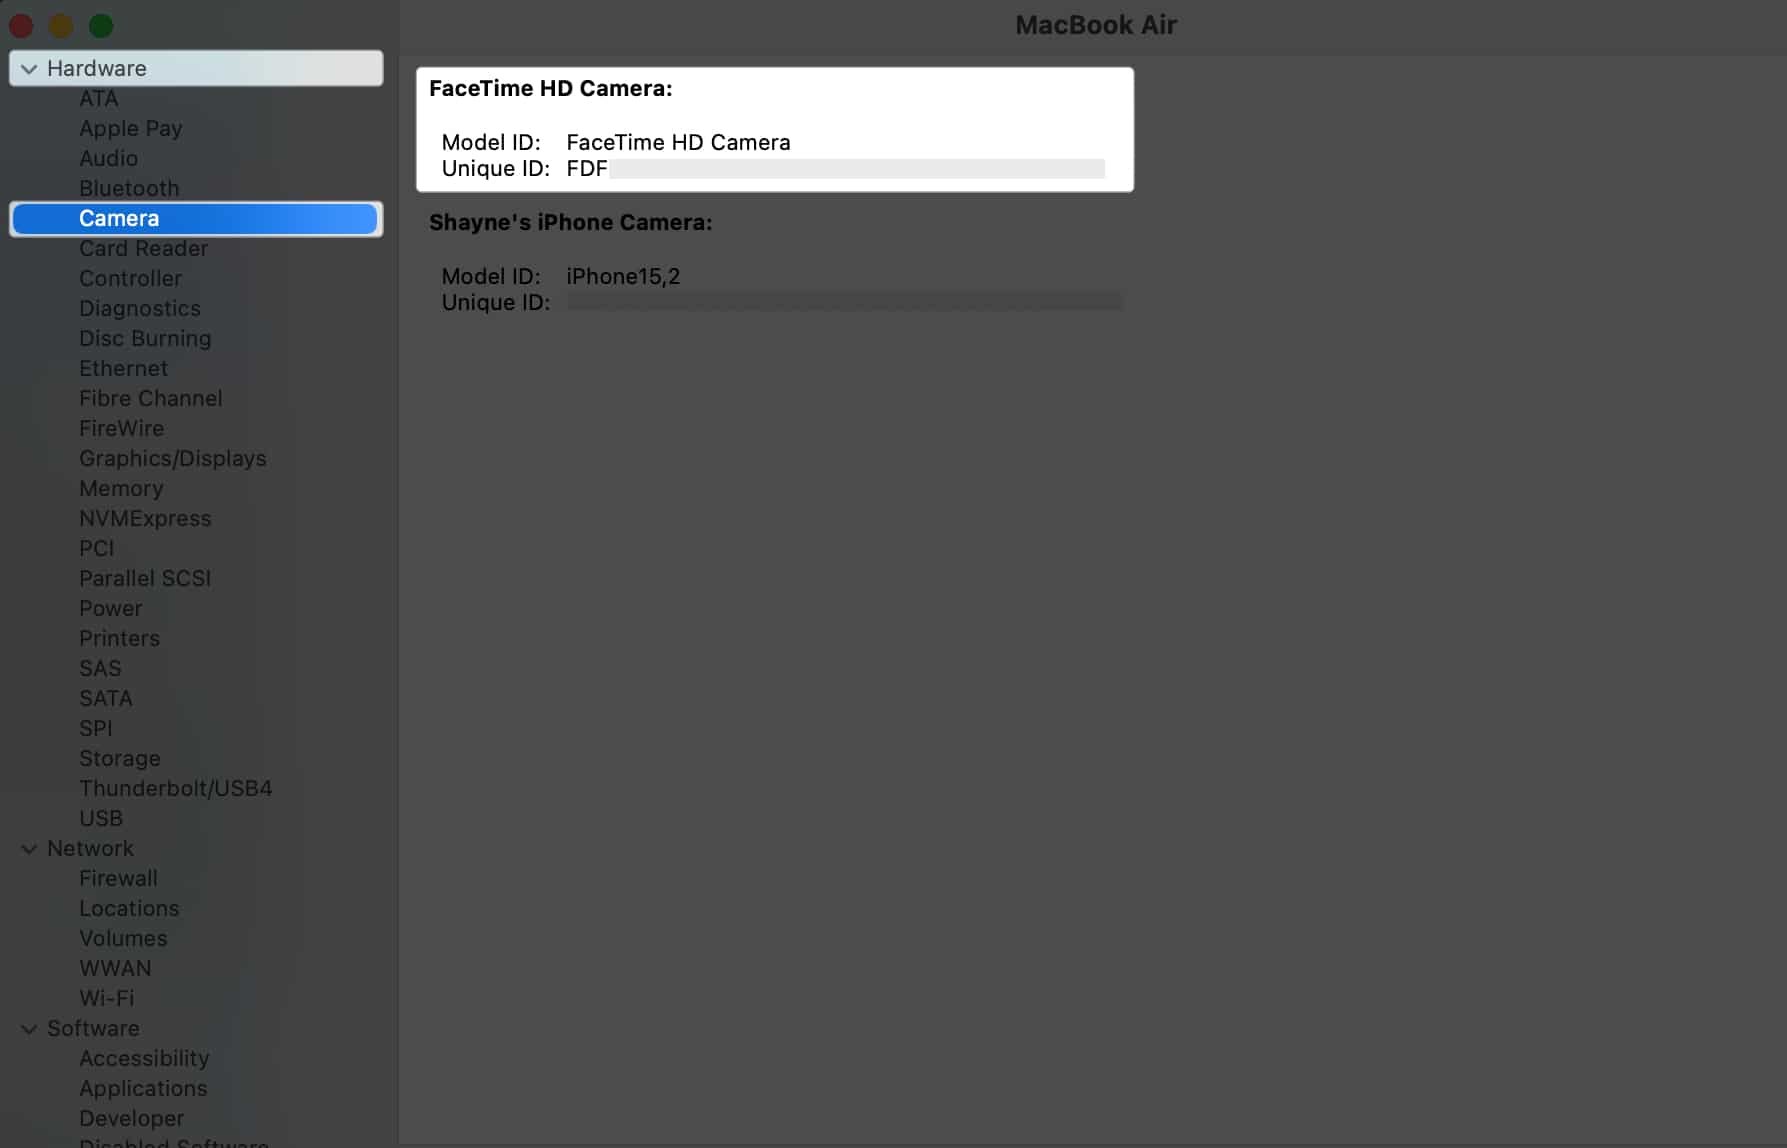
See if Mac detects its camera
For your MacBook to use its camera, it’s crucial that it can detect it. To check: If you don’t see FaceTime HD Camera listed under Camera or its details, then your Mac may not be detecting its camera.
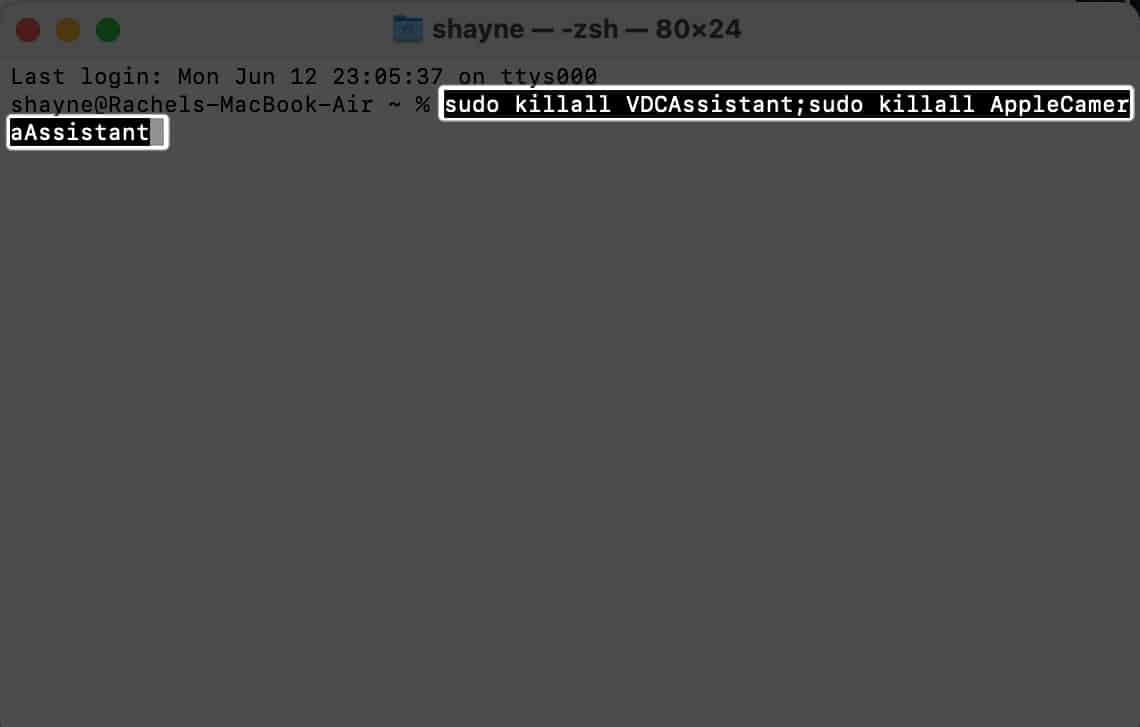
Reset your Mac camera
You may try resetting your Mac’s Camera in Terminal using the VDCAssistant Command. VDCAssistant is a process that runs camera controls. Sometimes, this process continues to work despite already closing the app that uses the camera. This may prevent any other apps from using the camera on your Mac. To reset it:
9. Run Apple Diagnostics
Running Apple Diagnostics can also help you identify which hardware component is the culprit behind the camera issue. Once you run Apple Diagnostics, you’ll see a report on your screen. If you see error codes beginning with N, this confirms that you have a problem with your MacBook’s camera. You’d better go to the nearest Genius Bar or Apple Store for further help.
External webcam not working on Mac
If you’re not using your Mac’s built-in cam, but are encountering problems with your external webcam, here are some potential solutions to help it work again:
Make sure your cable and port are clean. Dust and grime can interfere with the connection. Try plugging the camera into a different port. Check for hardware compatibility. Update the webcam’s software.
Wrapping up… Did any of the above solutions help you restore your MacBook camera’s function? If so, share your experience below! Read more:
Group FaceTime Not Working? Here’s Why and The Fix! Best faceTime alternative apps FaceTime vs. Zoom: Which is the best video calling app?
🗣️ Our site is supported by our readers like you. When you purchase through our links, we earn a small commission. Read Disclaimer. View all posts
Δ
![]()
![]()